The Raspberry Pi, a credit-card sized computer, has revolutionized how we tinker, learn, and build with technology. But what if you don’t have a spare monitor or simply want a space-saving solution? Enter the headless Raspberry Pi setup!
A headless setup allows you to configure and control your Raspberry Pi entirely remotely, without needing a monitor, keyboard, or mouse attached directly to the device. This unlocks a world of possibilities, from creating a media server tucked away in a cabinet to building a remote-controlled robot.
In this guide, we’ll break down the process of setting up a headless Raspberry Pi step-by-step. We’ll cover everything you need to know, from the hardware and software requirements to remotely accessing your Pi and configuring it for your projects.
Preparation
- Hardware requirements:
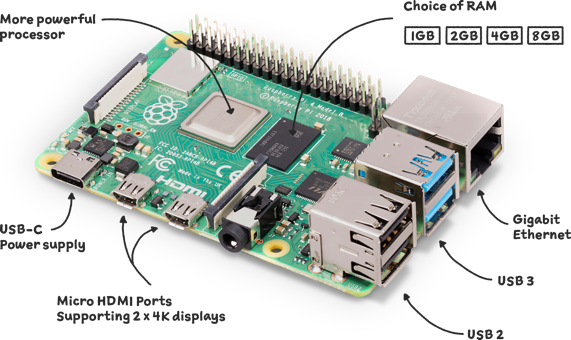
- Raspberry Pi
- MicroSD card (8GB or larger)
- Power supply
- Ethernet cable (optional)
- A PC with microSD card reader
- Software requirements:
- Raspberry Pi Imager (https://www.raspberrypi.com/software/)
Installing Raspberry Pi OS
- Insert a microSD card into your PC
- Open Raspberry Pi Imager
- (optional) Click the Choose Device button and select the Pi board
- Click the Choose OS button and select the OS. You can check the compatity OS for your Pi follow this link https://www.raspberrypi.com/software/operating-systems/
- Click Choose Storage and select your microSD card.
- Click Next.
- Click Edit Settings.
- Fill in all the fields on the General tab: hostname, username / password, wireless LAN
- .On the Services tab, toggle enable SSH to on and select “Use password authentication.”
- Click Save.
- Click Yes.
- Click Yes again.
- It will take a few minutes for the system to download the operating system and write it to your card.


A very useful post. Thanks for sharing 😊